It was inevitable that I would end up picking up "Land Ironclads" from Wessex. I already have their "Aeronef" game and the idea of being able to play land battles in the same setting or, even better, combining aerial units and land units into combined battle was too much to pass up. So now I have both.
After reading through the rules and looking around the Internet to see what other folks were doing with the game, I decided that a lot of the fun in this game would be drawn from coming up with crazy contraptions and land ironclads. True, there are some great models being done by Brigade Models but I wanted to cobble together some of my own. I am pretty happy with what I have come up with so far and thought I'd pause in the mad scramble to take some WIP pics. Forgive the quality of the pics, my camera is a relic.
After reading through the rules and looking around the Internet to see what other folks were doing with the game, I decided that a lot of the fun in this game would be drawn from coming up with crazy contraptions and land ironclads. True, there are some great models being done by Brigade Models but I wanted to cobble together some of my own. I am pretty happy with what I have come up with so far and thought I'd pause in the mad scramble to take some WIP pics. Forgive the quality of the pics, my camera is a relic.
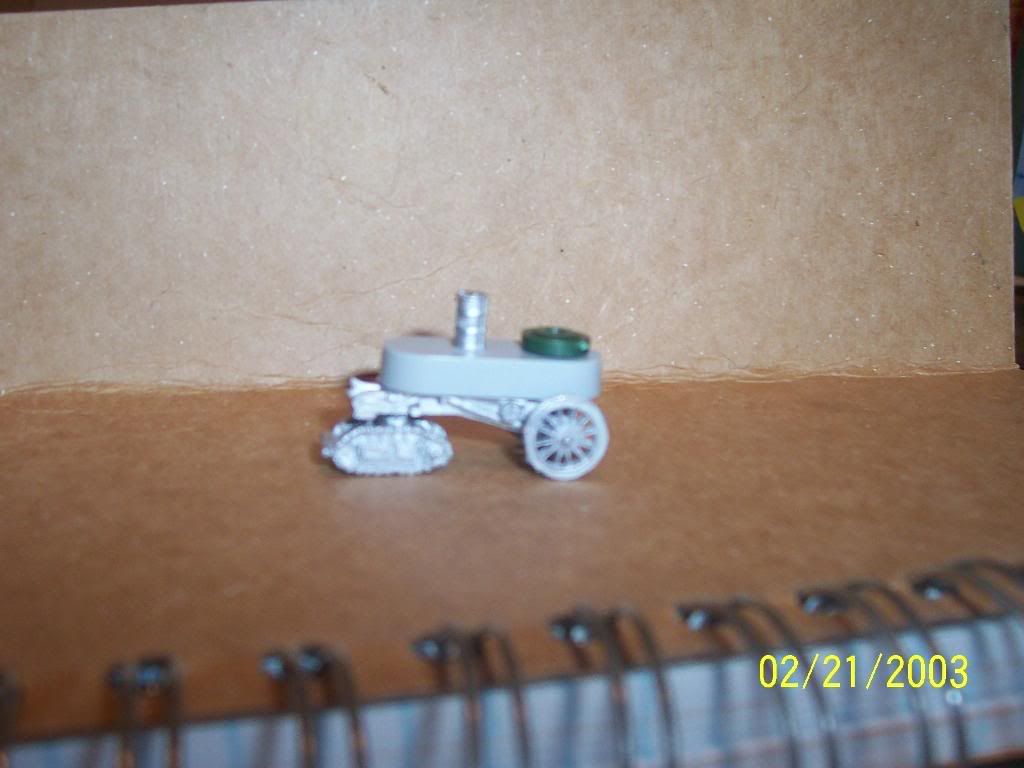
Side view. Note that the large turret is at the front of the land ironclad.
The basic design starts with the carriage for a 15mm WW2 German SiG 33 Infantry Gun. I had a few laying around and the spoked wheels and heavy construction of the carriage looked like they would work nicely. This provided the basic frame of the ironclad, but it needed some sort of drive and for this I decided to use a couple of 15mm WW2 German "Goliath" remote bombs. These were attached to the SiG carriage simply glue and a spacer made out of a 15mm Sherman tank road wheel. The final chassis was level and looked suitably VSF.

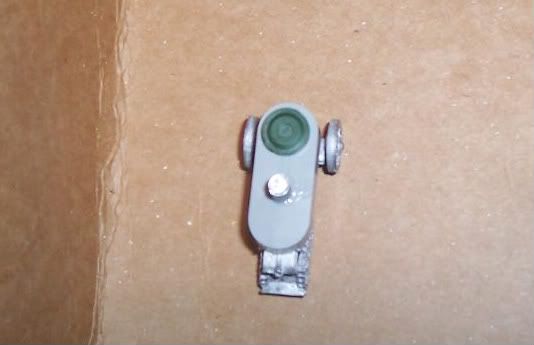
Top view. Note: there is no visible superstructure as the land ironclad is an enclosed design and already elevated.
With the chassis completed, I needed a hull. For this I scoured my available junk and was almost about to pause of the night and consign myself to having to custom build something. Fortunately, I came across an old, incomplete Aircraft Carrier model of unknown scale laying around. I looked over the parts and found two extended pillbox type pieces. Though hollow, they looked like they would mate up with the chassis well and the hollow part would be on the underside and really invisible unless you looked for it. This gave the land ironclad a very nice hull design.
At this point I have completed two identical vehicles of this type. I decided that, if I was going to use a chance-find piece, it would do me well to make as many of the model as I could. I am in the process of fleshing out the design right now. I added some 15mm oil drums for funnels and some road wheels from a plastic 1/72 LeClerc tank as the main turret. I am planning on adding two smaller secondary turrets at the rear but am still deciding on what to make them from. The main turret will get guns made from plastic rod.
I am very happy with how these are coming together and am looking forward to completing them. I decided to take a break and cool down before I rushed in and cut corners out of my zeal to get the things done. I am very much liking how the gun carriages worked out and may have to try some other designs made from the same or similar carriages. Perhaps I'll rig up some heavier models using the cleated wheels of some of the WW1 guns.
Hope you enjoyed seeing my WIP.
Thanks,
-Eli


Very nice design there Eli, simple yet classy :P I agree w/ the getting caught up ironclads, I think it will be much fun to build. But back to your clad, good job on the chasis and all, looks to be a very nice design.
ReplyDeleteI am almost ashamed of how easy this was.
ReplyDeleteVery nice!
ReplyDeleteGood stuff. Next time, if you find a piece or two that you really like, but only have a very limited supply of, cast the pieces in resin. For simple stuff like a small hull shape like you have there, it is really easy.
ReplyDeleteThat's a great idea. I have anther part from the same original model sourse that has the same cross section but a bit too tall to use for the same vehicles. I could do a one-sided putty-pressed mould and cast up some dummies in resin.
ReplyDeleteHeck, if I do this, I could even etch the resin and add some surfasce details.
Thanks for the idea!
-E