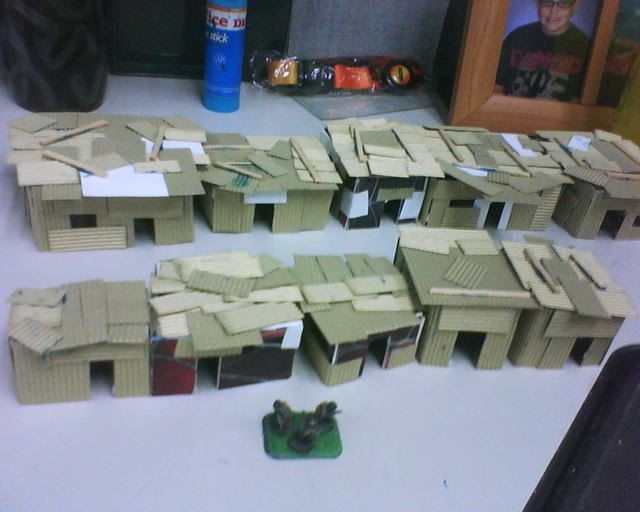
I have started building some cheap and dirty shanty buildings for use with my 15mm miniatures gaming. Originally spawned from a discussin of post-appocalyptic terrain on TMP, I have recently come to realize that this a versatile terrain piece that can be used for modern warfare games, post-appoc, and even scifi games. It has taken me a bit to get started on this project, but I finally managed to get ahold of some supplies and set to work three days ago while at work.
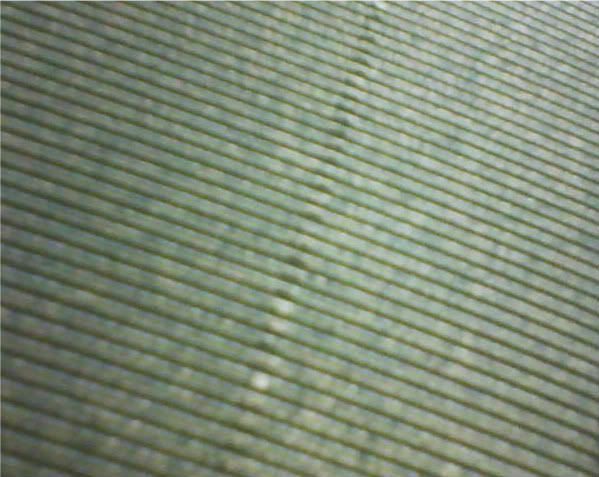
The basic materials for the projec is a relatively stiff, corrugated paper used for scrapbooking. This comes in sheets about 12"x12" and in a variety of colors, though the color has little to do with the project as it's going to end up painted. I suppse the color could help if you were able to find some that had a sort of old metal color. Below is a swatch of the paper I used.
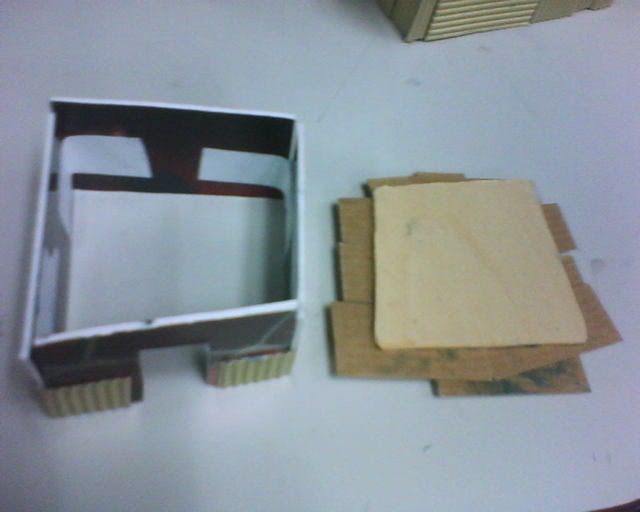
As I mentioned before, this was a quick and dirty project which means I flew into it with minimal planning, readily available materials and a lot of faith in my abilities. T maintain the ramshackle appearance, I tried to use as few large single pieces as pssible when creating the walls. Once I had done a few, I came up with a system of making a frame cut from thick card, though in the future I'll likely used something stiffer. This frame is the top of the structure.
The walls were constructed by gluing combinations of various pieces of corrugated card, thick card and whatever scraps of this and that I had on hand. I did not have to much in the way of alternate materials at work, s most of these first shanties are pretty much entirely made of corrugated materials. Windows and doors were done by leaving gaps between construction pieces as ften as possible and avoiding cut-outs. I also tried to leave overlaps and uneven assembly to create more of a rickety feel. All of this was done using an office glue stick, though I may go back and reinforce some of the glue work with hot glue or schol glue where needed.
I'll keep it short for now and will post more on how I did roofs tomorrow.
Hope you enjoyed!
-Eli


Very, very nice!!! You've been busy! I wish I could game with you sometime!
ReplyDeleteWord verification: elytick
Nice looking terrain; looks quick and easy and once painted up (which should also be a breeze) they'll look great on the tabletop.
ReplyDeleteThey are very much experimental. The roofs are designed to come ff which makes fitting them to the rickety buildings a bit tricky.
ReplyDeleteI really like what you've done with these. Nice work!
ReplyDeleteAbsolutely bloody fantastic Eli!
ReplyDeleteCheers
Mark
More good stuff you've created. As to fitting the roofs, I glue small pieces of balsa wood or similar to the underside of the roof so that it acts as a stop to keep the roof from sliding around. Not sure if that makes sense in writing or not?
ReplyDeleteDevon
Thanks folks,
ReplyDeleteThe roofs are left intentionally loose so they can be dropped on and taken off easily enough without having to be just right. The ramshackle nature of the roofs covers the gaps pretty easy. Also, the wood pieces I used as the hub for the glued on roof pieces creates a bit of a stopper.
-Eli
it will be good to see them all painted up you planning on rusting them up?
ReplyDeleteOkay, they look excellent !!
ReplyDeleteRust is in the works. Also, I intend to do some painted metal. Even people living in poverty try to make things look pretty.
ReplyDeleteI've seen pictures of the shanties in Brazil and they are colorful.